Why You Should Paint Your Kitchen Cabinets
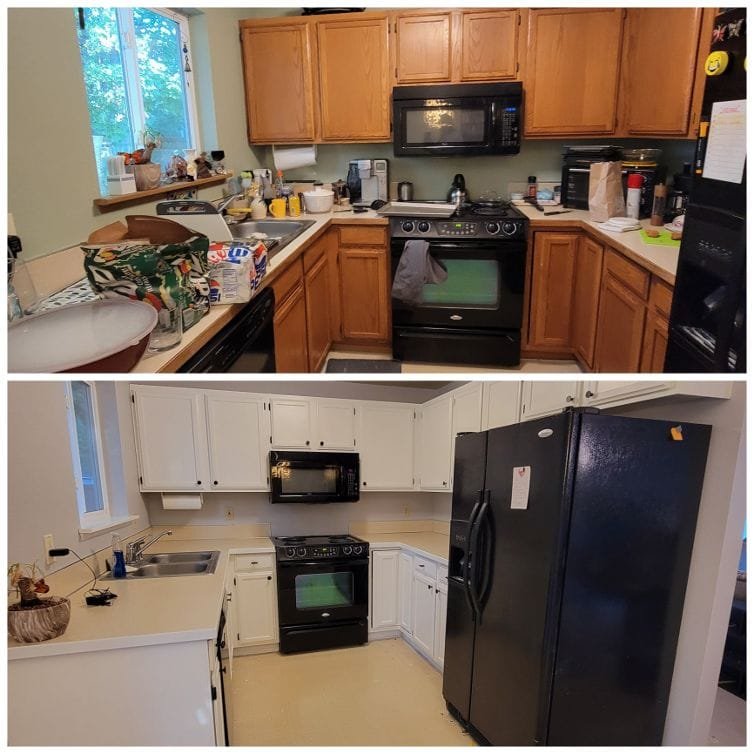
As a cabinet painter with over 20 years of experience, I’ve seen how a fresh coat of paint can completely alter the feel of a kitchen. Whether you have modern, sleek cabinetry or something more vintage and intricate, painting your cabinets is a cost-effective way to give your space a facelift without the expense of a full renovation.
In this guide, I’ll walk you through the steps I take when painting kitchen cabinets, from preparation to finishing touches. You’ll also find helpful tips based on my experience, pricing information, and a few tricks that can help you achieve professional-looking results.
Step 1: Prepare Your Kitchen for Cabinet Painting
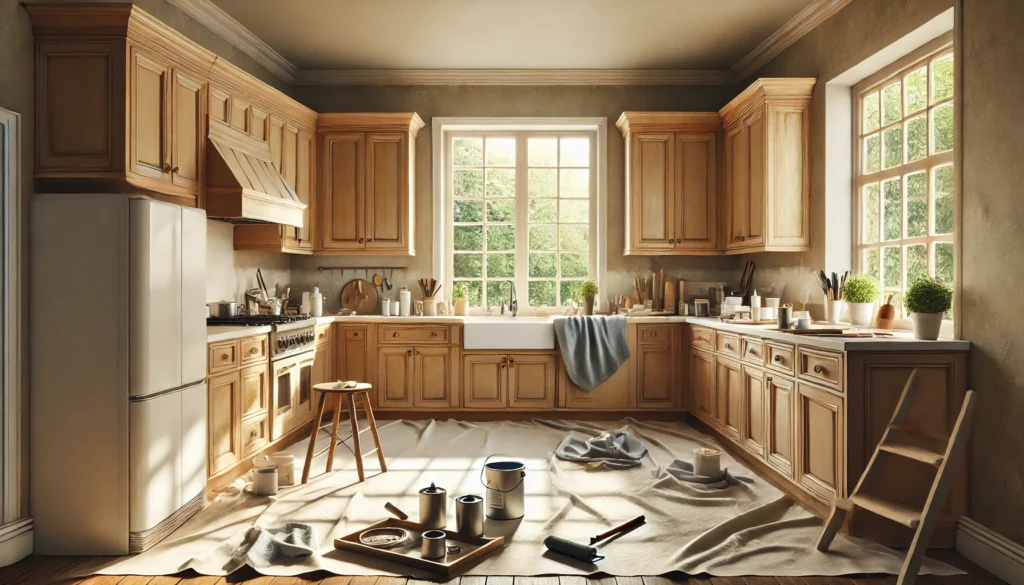
Before picking up a paintbrush, the most important step is to properly prepare your cabinets and workspace. A solid prep job ensures that the paint will adhere better and last longer. Here’s what I do before I start painting:
Remove Cabinet Doors and Hardware
First, I remove all cabinet doors, drawers, and hardware like handles or knobs. This step is essential because it allows me to paint the entire surface without any interruptions.
Plus, removing hardware prevents the paint from getting into the hinges, which can cause issues with the door’s functionality later on.
Clean the Surfaces
Cleaning your cabinets is vital. Over time, grease and grime build up, and this can prevent the paint from sticking properly. I use a degreaser to clean all surfaces thoroughly. Make sure the cabinets are completely dry before moving on to the next step.
Sand the Surfaces
Sanding smooths out any imperfections and creates a surface that paint will adhere to. I typically use a medium-grit sandpaper (around 120-grit) to lightly sand the surfaces. If the cabinets are really glossy, I’ll use a finer grit (around 220-grit) to dull the finish. Don’t skip this step, as it’s crucial for a smooth, even coat of paint.
Fill in the Holes (if needed)
If you’re changing the hardware or the cabinets have any visible holes, fill them with wood filler. Once dry, sand the filler smooth to match the surrounding area.
Step 2: Prime Your Cabinets
Priming is essential for achieving an even, durable finish. I always use a bonding primer when painting kitchen cabinets, especially for surfaces that were previously stained or have a glossy finish. This type of primer helps the paint stick better and reduces the number of coats needed.
Apply Primer
I apply a thin, even coat of primer with a brush or roller, depending on the cabinet design. For more detailed areas, I use a brush to ensure all nooks and crannies are covered.
After applying the primer, I let it dry completely (usually 2-4 hours), and then I lightly sand the surfaces with fine-grit sandpaper
Let the Primer Dry and Cure
Let the primer cure for at least 24 hours before painting. This ensures that it’s fully bonded to the surface and will hold the paint securely.
Step 3: Painting Your Cabinets
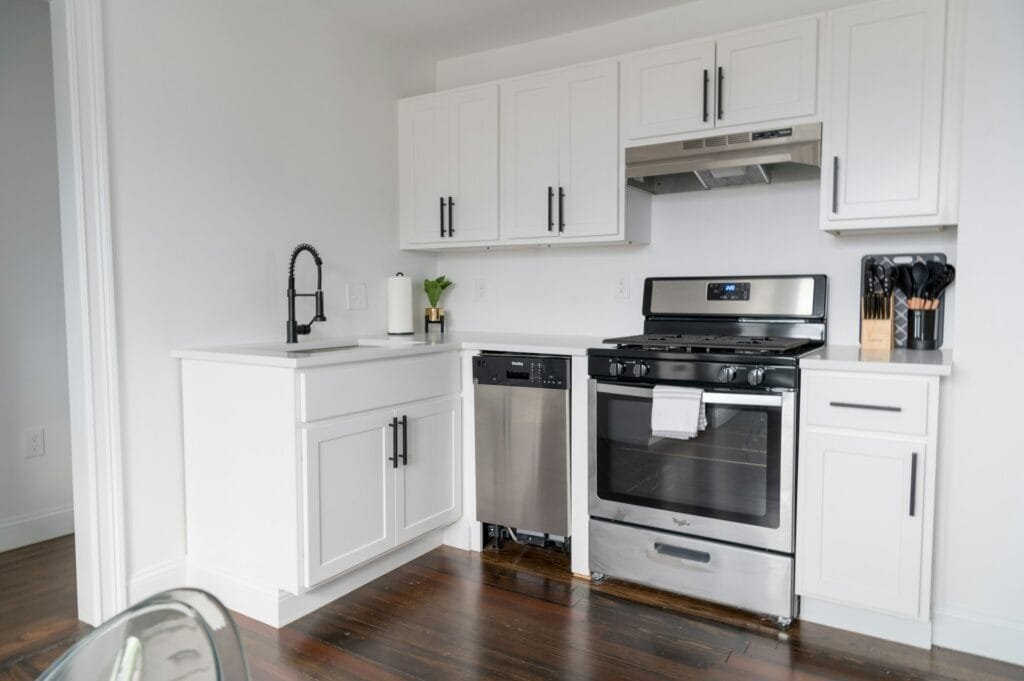
Now comes the fun part—painting! This is where the transformation starts to take shape. There are a few key techniques I’ve perfected over the years that make a big difference in achieving a professional finish.
Choose the Right Paint
For kitchen cabinets, you’ll want a durable, washable paint. I recommend using latex or enamel-based paints for the best results. Latex paint is more forgiving and dries faster, while enamel offers a harder, more durable finish.
Best Paint Brands for Cabinets:
- Benjamin Moore Advance
- Sherwin-Williams ProClassic
- Behr Premium Plus Ultra
Apply the First Coat
I use a high-quality brush or a foam roller to apply the first coat of paint. For cabinet doors and drawers, I usually opt for a brush, as it allows for more control over the application. I make sure to apply the paint in thin layers to prevent drips or visible brush strokes.
Sand Between Coats
After the first coat is dry, I lightly sand the surface with 220-grit sandpaper. This step helps to remove any imperfections and ensures that the next coat adheres properly. I clean off the dust using a tack cloth before applying the next coat of paint.
Apply Additional Coats
For the best finish, I typically apply at least two to three coats of paint, allowing each coat to dry fully between applications. The number of coats will depend on the color and type of paint you’re using.
Step 4: Reassemble and Let the Paint Cure
Once all coats are applied and dry, it’s time to reassemble your cabinets. Reattach the hardware, doors, and drawers, making sure everything is aligned properly.
Let the Cabinets Cure
After reassembling, I recommend allowing your cabinets to cure for 7 to 10 days before heavy use. This gives the paint time to fully harden and reduces the risk of marks or smudges.
Pricing Your Cabinet Painting Project
Pricing your kitchen cabinet painting project can depend on several factors, including the size of the kitchen, the complexity of the cabinetry, and the quality of paint used. As a professional cabinet painter in Bellevue, here’s a rough breakdown of what you might expect to pay for painting your cabinets:
| Item | Cost Range |
|---|---|
| Professional Labor (per hour) | $50 – $100 per hour |
| Paint (per gallon) | $40 – $80 per gallon |
| Primer (per gallon) | $30 – $60 per gallon |
| Cabinet Hardware (optional) | $2 – $10 per piece |
| Total for a Standard Kitchen | $1,200 – $3,000 |
For a typical kitchen with 20-30 cabinet doors, you can expect to pay anywhere from $1,500 to $2,500 when hiring a professional like me. If you’re doing it yourself, you might spend $200 to $500 on materials, depending on the paint and tools you choose.
Tips for Maintaining Your Newly Painted Cabinets
After investing time and money into painting your kitchen cabinets, it’s important to care for them to keep them looking great. Here are some maintenance tips:
- Use Gentle Cleaners: Avoid harsh chemicals or abrasives. Use a mild dish soap solution and a soft cloth.
- Wipe Spills Quickly: Kitchen cabinets are exposed to grease and food, so clean up spills as soon as they occur to avoid staining.
- Touch Up as Needed: Over time, chips and scratches can happen. Keep leftover paint for easy touch-ups.
Transform Your Kitchen with Paint
Painting your kitchen cabinets can save you a lot of money compared to replacing them. With the right preparation, paint, and technique, you can achieve a professional finish that will make your kitchen look brand new.
If you’re looking for a professional cabinet painter, with over 20 years of experience in cabinet painting, I’m here to help you turn your kitchen into a space you love.
FAQ's on How to Paint Kitchen Cabinets
The cost depends on factors like the size of the kitchen, the type of paint, and whether you hire a professional. It can range from $200 for DIY projects to $2,500 for a professional service.
Yes, but it’s important to properly prepare the surface by sanding and priming to ensure the paint adheres well.
Latex or enamel paints are ideal for kitchen cabinets because they offer durability and washability.
Yes, removing the doors and hardware ensures a smoother, more uniform paint application.
